VWAP is the single most-watched institutional reference in intraday markets. T2K0 Flow VWAP anchors it correctly to RTH and hides it in pre-market — so you're always reading the same level institutional desks are.
What you're reading
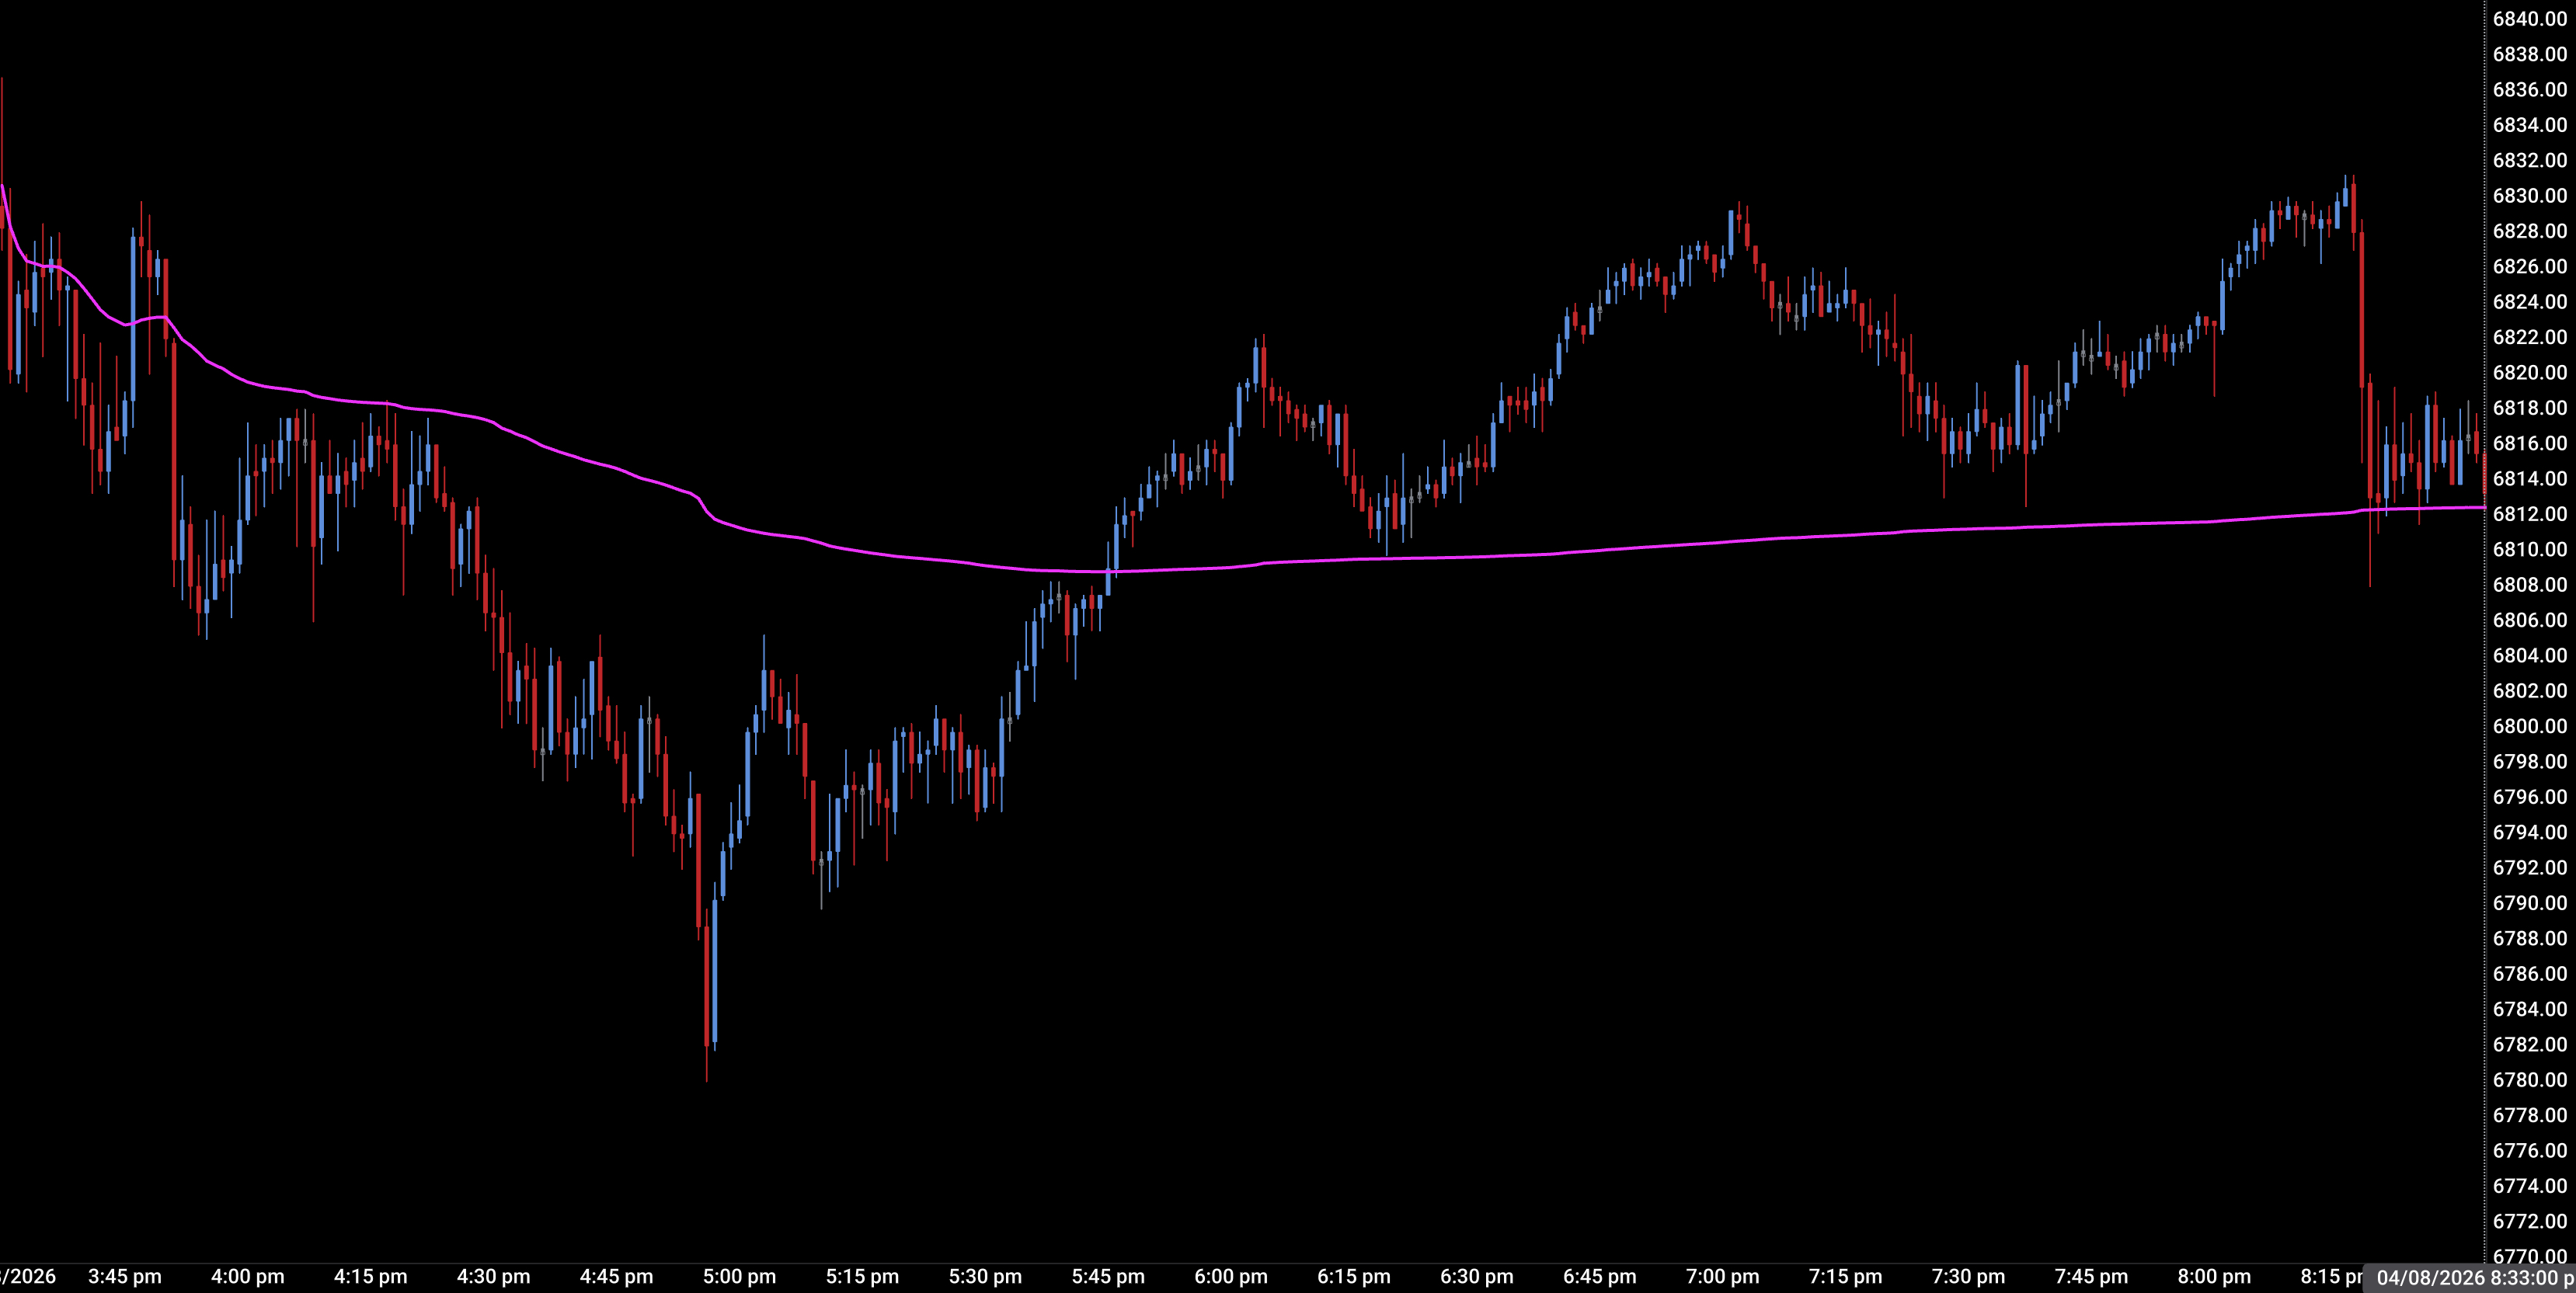
VWAP line — the volume-weighted average price since 9:30 ET open. The day's fair value reference. Price above = net buyers in control since open. Price below = net sellers.
Price above VWAP = bullish intraday bias — institutions who bought at the open are in profit. They're more likely to add than exit. Pullbacks to VWAP are potential long entries.
Price below VWAP = bearish intraday bias — institutions who bought at the open are underwater. Rallies to VWAP are potential short entries.
SD Band 1 (±1σ) — first standard deviation. Normal range. Price spending time between SD1 levels = balanced, contained session.
SD Band 2 (±2σ) — second standard deviation. Overextension zone. Price at SD2 has a high probability of reverting toward VWAP. Especially powerful combined with absorption signals.
RTH-only anchoring — anchors to 9:30 ET, hides outside session. No overnight candles polluting the VWAP with thin volume. Real intraday reference.
Confluence — what to stack
VWAP signal
Add this indicator
Result
Price at VWAP + VP POC same level
Flow Volume Profile
Dual fair value reference — strongest mean-reversion
Pullback to VWAP in bullish session
Flow Footprint — absorption at VWAP?
Institution defending VWAP — high-probability long
Price at SD2 upper band
Flow Effort — absorption bar?
Overextension + exhaustion — mean-reversion fade
Price crossing VWAP from above
Flow Delta Axis — where is delta POC?
Bias shift — sellers taking control of what was a bullish session
VWAP inside ORB range
Flow ORB
VWAP as intraday support for ORB setup — clean context
Trade scenarios
VWAP pullback long — buying the first return to fair value
SetupRTH opens with a bullish push. Price trades above VWAP for the first 30–60 minutes. CVD is rising. First meaningful pullback begins toward VWAP.
TriggerPrice touches VWAP. A Footprint bar shows absorption (high volume, near-zero delta) at or within 1–2 ticks of VWAP. This is the test.
ConfirmCVD holds above its prior swing low on the pullback. Volume Profile POC is below VWAP (supporting the bullish bias). A teal Big Orders bubble appears at VWAP.
InvalidatePrice closes below VWAP with strong negative delta on the close bar. Bias flips — VWAP is no longer support. Don't fight the flip.
SD2 fade — shorting overextension
SetupSession has rallied strongly. Price approaches the upper SD2 band — a statistically unusual distance from VWAP for one session.
TriggerAn absorption or effort-flagged bar appears at SD2. Delta Grid shows low Δ% on this bar despite the extended price.
ConfirmCVD starts rolling over. Footprint shows bearish divergence (price up, delta down). Magenta Big Orders bubble at the SD2 level.
InvalidatePrice closes cleanly above SD2 with strong Δ% and teal bubble. The overextension resolved bullishly (news event, institutional breakout). Don't fade, reassess.
Key settings
Session anchor: Always US/Eastern 9:30. Don't change this for CME futures — this is the institutional reference point.
SD Band 1: Enable. This gives you the normal volatility range for the session. Useful for position sizing — inside SD1 means a contained day.
SD Band 2: Enable for SD2 fade setups. Disable if you prefer a cleaner chart and don't use the SD2 fade strategy.
Hidden outside RTH: Keep ON. Pre-market VWAP is meaningless for RTH execution. Showing it only creates visual confusion.
Quick FAQ
Why RTH-only and not anchored to midnight? RTH volume dwarfs ETH volume. A midnight anchor distorts VWAP toward low-volume overnight prices. RTH anchor = the level institutions actually use.
Is VWAP a support/resistance level? It's a dynamic reference. In directional sessions it acts as a first pullback target. In ranging sessions it acts as the center of gravity where price keeps reverting.
Does it need tick data? No. VWAP uses bar-level VWAP calculations. No tick subscription required.